Welcome to the weekend breakfast club, where the aroma of freshly cooked waffles is the main event. But what happens when gluten isn’t on the guest list? If you’re wondering How To Make Gluten Free Waffles that are actually fluffy, crispy, and hold together beautifully, you’ve come to the right place. For too long, gluten-free waffles have had a reputation for being dense, gummy, or falling apart at the slightest touch. I’m here to tell you that’s old news. With the right ingredients, a solid technique, and a little bit of waffle wisdom, you can create a gluten-free masterpiece that will have everyone at the table asking for seconds. Let’s fire up the waffle maker and banish bad breakfast forever.
Why Gluten-Free Waffles Can Be Tricky (And How to Nail Them)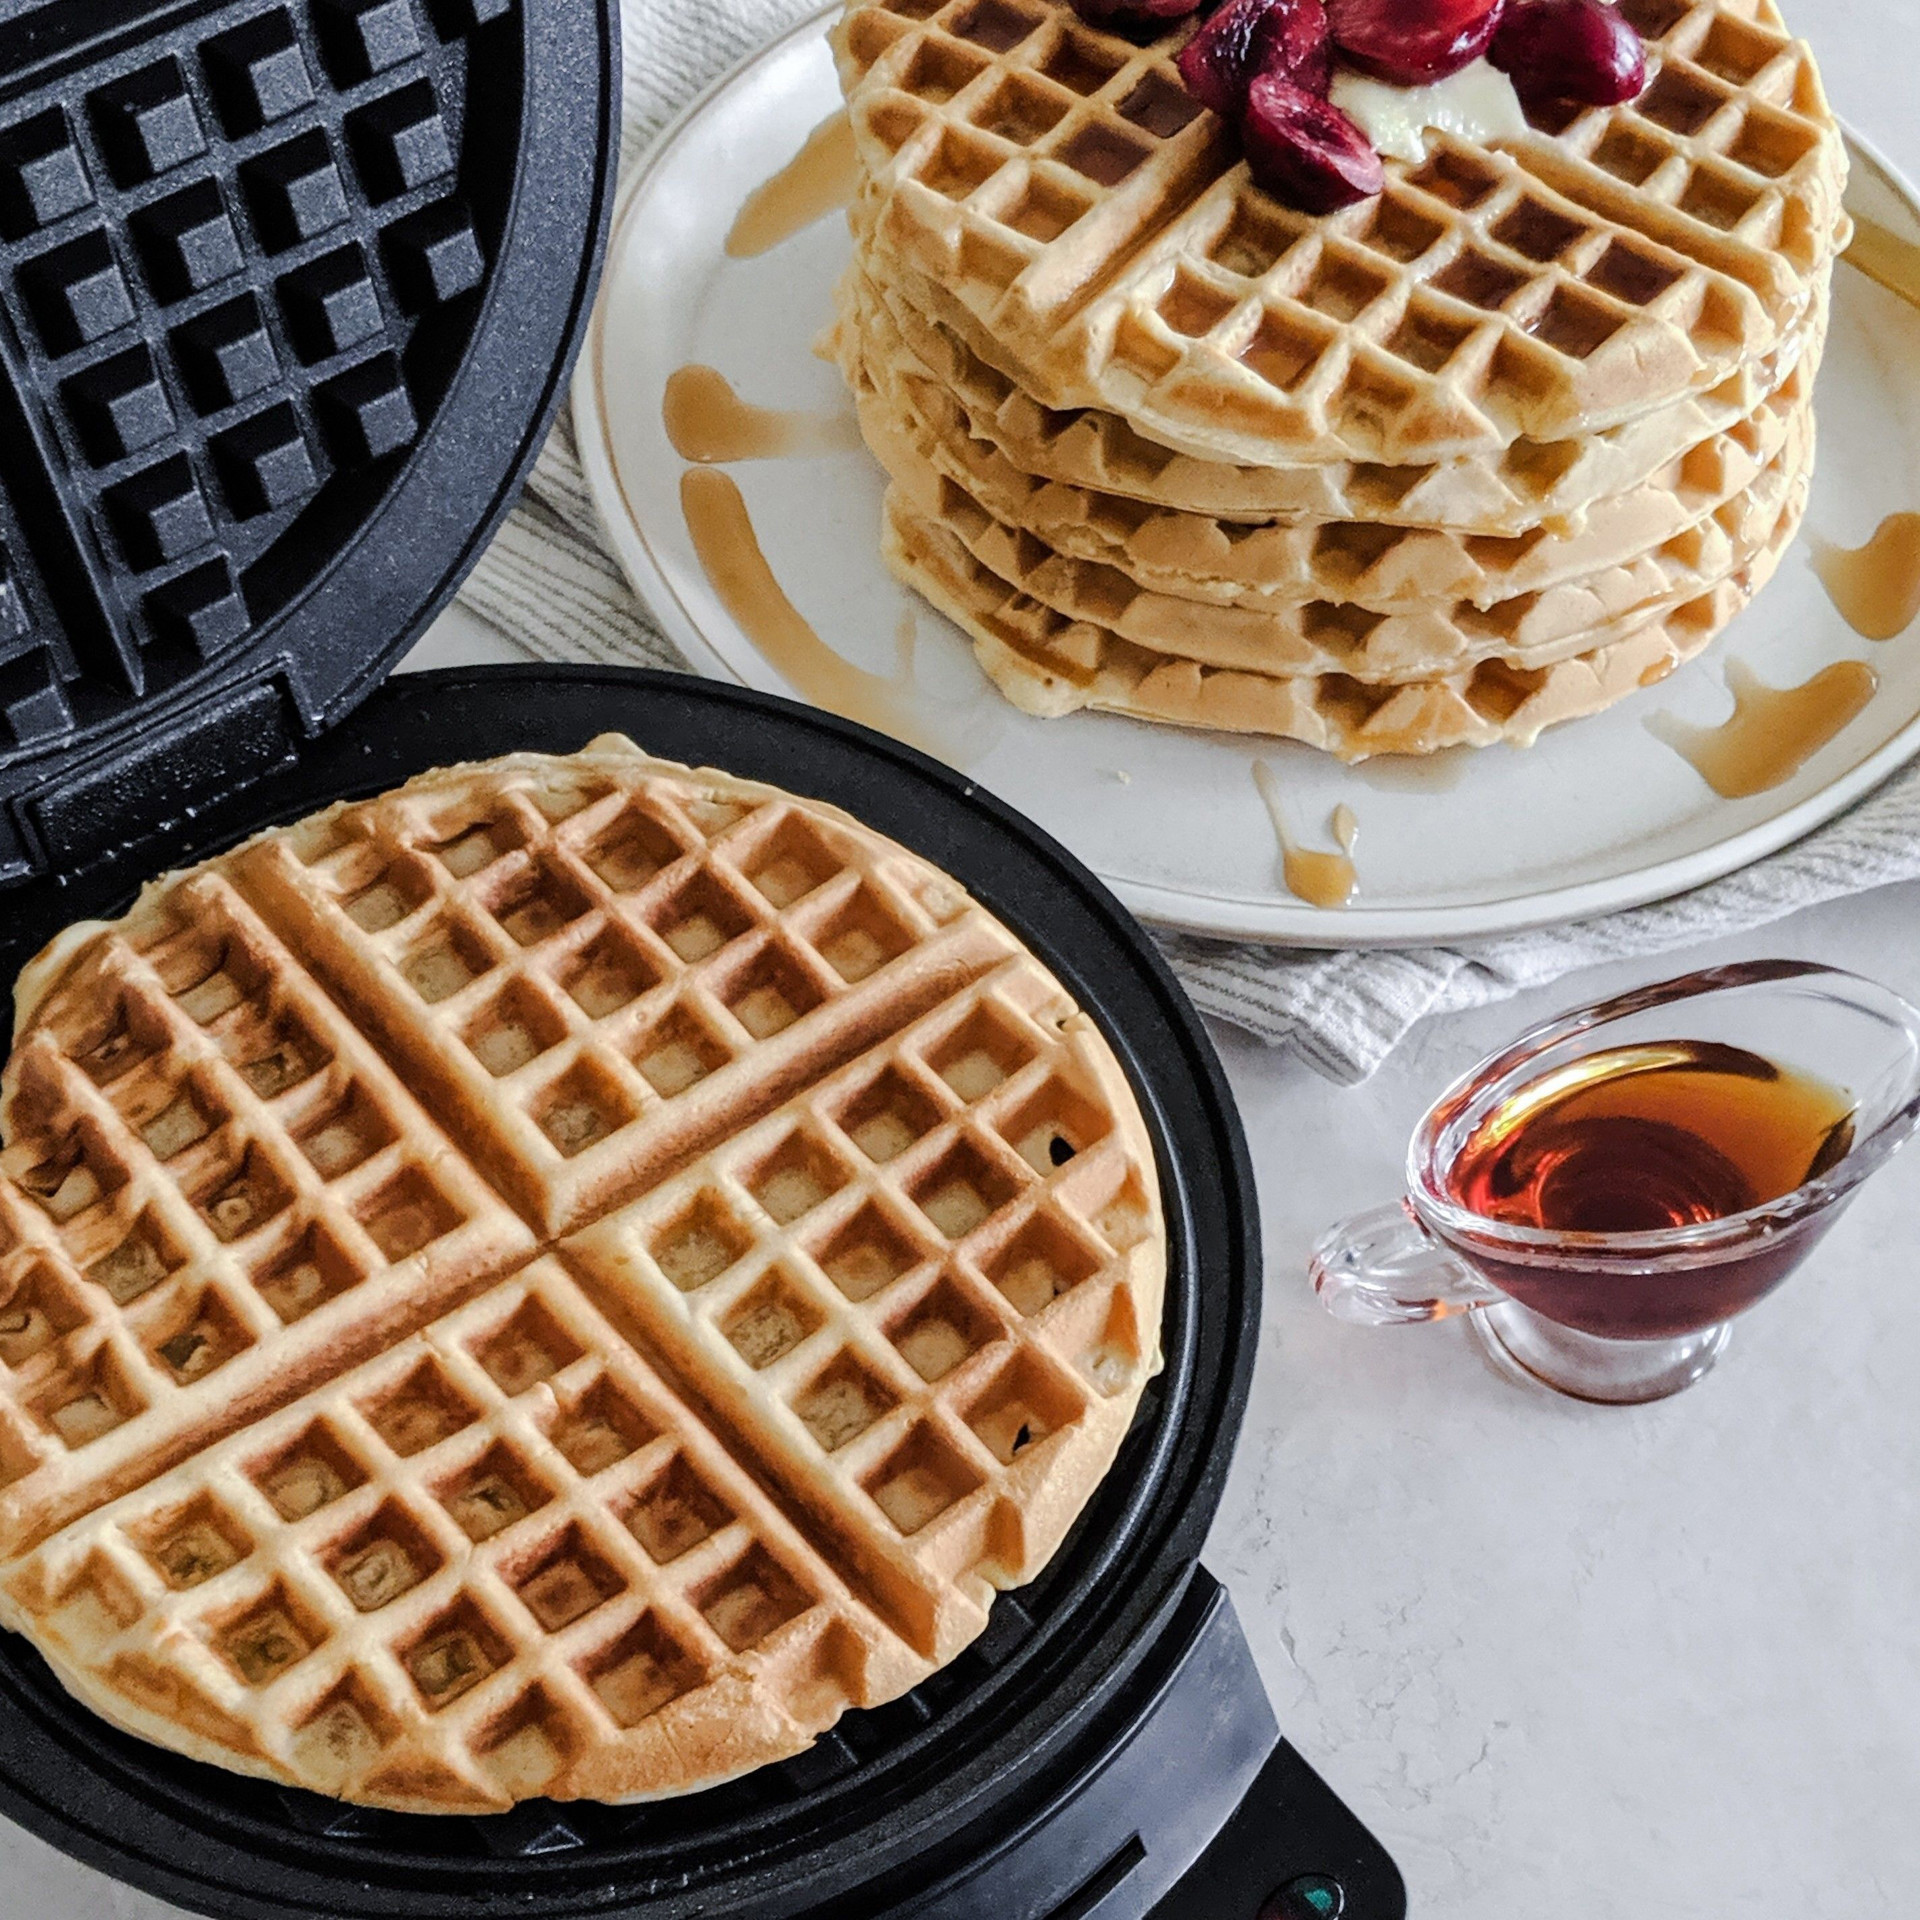
The magic of a traditional waffle lies in gluten, the protein network that gives batter its structure and chew. When you remove it, you’re essentially taking away the scaffolding. This is why many gluten-free attempts end up either too heavy or too crumbly. The key is to rebuild that structure using a smart combination of alternative flours and binders.
Don’t worry, it’s not as complicated as it sounds. The secret is twofold: using a high-quality gluten-free flour blend and allowing your batter to rest. This resting period is crucial—it gives the starches in the flour time to fully hydrate, which thickens the batter and dramatically improves the final texture. Think of it as giving your ingredients a moment to get to know each other before the big show.
Choosing the Right Gluten-Free Flour Blend
This is the single most important decision you’ll make. Not all gluten-free flours are created equal. You have two main options: a store-bought all-purpose blend or mixing your own.
- Store-Bought Blends: For convenience, you can’t beat them. Look for a “cup-for-cup” or “1-to-1” blend that already contains xanthan gum. Brands like Bob’s Red Mill 1-to-1 Baking Flour or King Arthur Gluten-Free Measure for Measure Flour are excellent starting points. They are formulated to mimic the properties of regular all-purpose flour.
- DIY Blends: If you’re more of a hands-on baker, making your own blend gives you total control. A great base mix combines a neutral starch (like rice flour or sorghum flour) with a starch for lightness (like potato starch or tapioca starch) and maybe a whole-grain flour (like oat or buckwheat flour) for flavor and nutrition.
As our in-house baking expert, Chef Isabella Rossi, often says, “The perfect gluten-free flour blend is a symphony. You need the robust notes of a whole grain, the crisp highs of a starch, and a binder to conduct it all together.”
A common mistake is using a single gluten-free flour, like only almond or coconut flour. This rarely works. Almond flour can be too heavy and oily, while coconut flour is incredibly absorbent and can make your waffles dry. A blend is always the answer.
|
Our Picks for the Best Waffle Maker in 2025
As an Amazon Associate, we earn from qualifying purchases.
|
||
| Num | Product | Action |
|---|---|---|
| 1 | Chefman Rotating Belgian Waffle Maker, 180° Flip Iron w/ Non-Stick Plates, Adjustable Timer, Locking Lid, & Drip Plate, Space Saving Storage, Mess-Free Breakfast, Stainless Steel/Black |

|
| 2 | MasterChef Bubble Waffle Maker- Electric Non stick Hong Kong Egg Waffler Iron Griddle w FREE Recipe Guide- Ready in under 5 Minutes |
|
| 3 | Car Mini Waffle Maker- Xmas Gift for Him- Make 7 Different Race Cars Trucks & Automobile Vehicle Shaped Pancakes for Kids Adults- Electric Waffler Iron w Recipe Guide, NonStick Pan Cake Baker Machine |
|
| 4 | CROWNFUL Mini Waffle Maker, 4\" Chaffle Maker with Compact Design, Easy to Clean, Non-Stick Surface, Recipe Guide Included, Perfect for Breakfast, Dessert, Sandwich, or Other Snacks |
|
| 5 | CROWNFUL Mini Waffle Maker, 4\" Chaffle Maker with Compact Design, Easy to Clean, Non-Stick Surface, Recipe Guide Included, Perfect for Breakfast, Dessert, Sandwich, or Other Snacks |
|
| 6 | DASH Multimaker Mini System - Waffle Maker with Six 4” Removable Plates: Waffle Iron & Griddle, 4-in-1 Mini Waffle Maker for Kids and Families – Nonstick Surface, Just Add Batter (Aqua) |
|
| 7 | BELLA 17175 Bubble Maker w, Rapid Quickly Make Fluffy 9” Authentic Hong Kong Breakfast or Dessert, Healthy-Eco Non Stick Coating, Easy to Clean Waffle Iron, 120 Volts, Cone Rack Included, White |
|
| 8 | Bubble Waffle Maker- Electric Non stick Hong Kong Egg Waffler Iron Griddle w/Ready Indicator Light- Ready in under 5 Mins- Recipe Guide Included, Make Delicious Ice Cream Cones for Xmas Gift or Treat |
|
| 9 | DASH Mini Waffle Maker - 4” Waffle Mold, Nonstick Waffle Iron with Quick Heat-Up, Nonstick Surface - Perfect Mini Waffle Maker for Kids and Families, Just Add Batter (Red) |
|
| 10 | Ninja BW1001 NeverStick PRO Belgian Waffle Maker, Vertical Design, 5 Shade Settings, with Precision-Pour Cup & Chef-curated Recipe Guide, Black & Silver |
|
The Secret Ingredients for Perfect Texture
Beyond the flour, a few key players will elevate your waffle game from good to unforgettable.
Essential Binders: The Role of Xanthan Gum
What is xanthan gum and do I really need it?
Yes, you almost certainly do. Xanthan gum is a stabilizer that mimics the binding properties of gluten. It provides elasticity and prevents your waffles from crumbling into a sad pile. A little goes a long way—typically just 1/2 teaspoon per cup of flour blend is enough. If your store-bought flour mix already includes it, you don’t need to add more.
Leavening for Lift-Off
To get that coveted light and airy interior, you need proper leavening. We use both baking powder and baking soda. The baking powder provides the primary lift, while the baking soda reacts with an acid in the batter (like buttermilk or a touch of vinegar) to create extra bubbles and promote browning.
Fat and Sugar for Flavor and Crispiness
- Fat: Melted butter provides unbeatable flavor, but for a dairy-free option, melted coconut oil or a neutral vegetable oil works wonderfully. Fat is essential for a tender crumb and helps prevent sticking.
- Sugar: A little bit of sugar not only adds sweetness but also helps the exterior of the waffles caramelize, creating that perfect golden-brown, crispy shell.
- Eggs: They act as a binder and add richness and structure. Make sure they’re at room temperature to incorporate more easily into the batter.
The Ultimate Recipe: How to Make Gluten-Free Waffles
Ready for the main event? This recipe is my tried-and-true method for consistently delicious gluten-free waffles. It strikes the perfect balance between a fluffy interior and a satisfyingly crisp exterior.
Ingredients You’ll Need
- 2 cups (240g) high-quality all-purpose gluten-free flour blend (one that contains xanthan gum)
- 2 tablespoons granulated sugar
- 2 teaspoons baking powder
- 1/2 teaspoon baking soda
- 1/2 teaspoon salt
- 2 large eggs, at room temperature
- 1 3/4 cups buttermilk (or make your own by adding 1.5 tbsp of lemon juice or white vinegar to regular milk and letting it sit for 5 minutes)
- 1/2 cup melted butter or coconut oil, plus more for greasing
- 1 teaspoon vanilla extract
Step-by-Step Instructions
- Preheat Your Waffle Maker: Start preheating your waffle maker to a medium-high setting. Every machine is different, so get to know yours. A model with good browning control like the ones we recommend in [our guide to the best Belgian waffle makers] gives you precise results.
- Combine Dry Ingredients: In a large bowl, whisk together the gluten-free flour blend, sugar, baking powder, baking soda, and salt. Whisking helps aerate the flour and ensures everything is evenly distributed.
- Combine Wet Ingredients: In a separate medium bowl, whisk the eggs until they are light and frothy. Then, whisk in the buttermilk, melted butter (or oil), and vanilla extract until just combined.
- Mix Batter: Pour the wet ingredients into the dry ingredients. Mix with a whisk or spatula until just combined. It’s okay if there are a few small lumps. Do not overmix! Overmixing develops the starches too much, which can lead to tough waffles.
- Let it Rest: This is the non-negotiable step. Let the batter sit at room temperature for at least 10-15 minutes. You’ll notice it thickens up considerably. This is the magic happening—the flours are absorbing the liquid, which is key for a great final product.
- Cook the Waffles: Lightly grease the top and bottom plates of your hot waffle maker. Pour the recommended amount of batter onto the center of the bottom plate (check your waffle maker’s manual, but it’s typically about 1/2 to 3/4 cup).
- Be Patient: Close the lid and cook until the waffle is golden brown and crisp, and the steam stops billowing from the sides. This usually takes 4-6 minutes. Avoid the temptation to peek early, as this can cause the waffle to split.
- Serve and Repeat: Carefully remove the waffle and place it on a wire rack to keep it from getting soggy while you cook the rest of the batter. Serve immediately with your favorite toppings.
Pro Tips for Waffles That Wow Everyone
- Don’t Press the Lid: Let the leavening do the work. Pressing down on the waffle maker lid can compress your waffle, making it dense.
- Use a Non-Stick Surface: A good quality waffle maker with non-stick plates is your best friend, especially with delicate gluten-free batters.
- Room Temperature is Key: Using room temperature eggs and buttermilk helps the batter come together more smoothly and cook more evenly.
- Whip Your Egg Whites: For an extra-light and airy texture, separate the eggs. Mix the yolks in with the wet ingredients, and beat the egg whites to stiff peaks in a separate, clean bowl. Gently fold the beaten egg whites into the finished batter right before cooking. It’s an extra step, but the payoff is incredible.
Troubleshooting Common Gluten-Free Waffle Problems
Why are my waffles soggy?
This is usually due to one of two things: undercooking or letting them sit on a plate. Make sure you cook them until they’re truly golden and crisp. Then, transfer them immediately to a wire cooling rack, not a plate, which traps steam and creates sogginess.
Why did my waffles fall apart?
This often points to a problem with the batter. It might be too thin, or you may have skipped the crucial resting step. Your flour blend might also be missing a binder like xanthan gum.
Why are my waffles sticking to the iron?
Even with non-stick plates, gluten-free batters can be a bit sticky. Ensure your waffle iron is fully preheated and lightly but thoroughly greased with oil or butter before every waffle.
Final Thoughts: Your Breakfast, Redefined
Learning how to make gluten free waffles that are genuinely delicious is a total game-changer. It’s not about settling for a lesser version of a classic; it’s about mastering a new technique to create something wonderful in its own right. With this recipe and these tips, you’re not just making breakfast—you’re creating an experience that everyone, regardless of dietary needs, can enjoy.
So go ahead, dust off that waffle maker, and get ready to impress. And when you do, we’d love to hear about it! Share your successes and favorite toppings in the comments below. For more tips and reviews on the best gear for your kitchen, check out our other articles on Waffle Maker Guide.