There’s nothing quite like the smell of fresh waffles on a weekend morning. The sizzle of the batter, the golden-brown perfection… it’s a little slice of heaven. But after the last waffle has been devoured, a less magical task awaits: the cleanup. While many of us focus on getting the batter out, we often overlook a critical final step. Understanding What Is The Best Way To Dry A Waffle Maker is the secret to protecting your investment, ensuring flawless non-stick performance for years, and guaranteeing that every batch of waffles is as good as the first. Let’s banish the post-breakfast cleanup blues and master this simple yet crucial skill.
Why Properly Drying Your Waffle Maker is a Game-Changer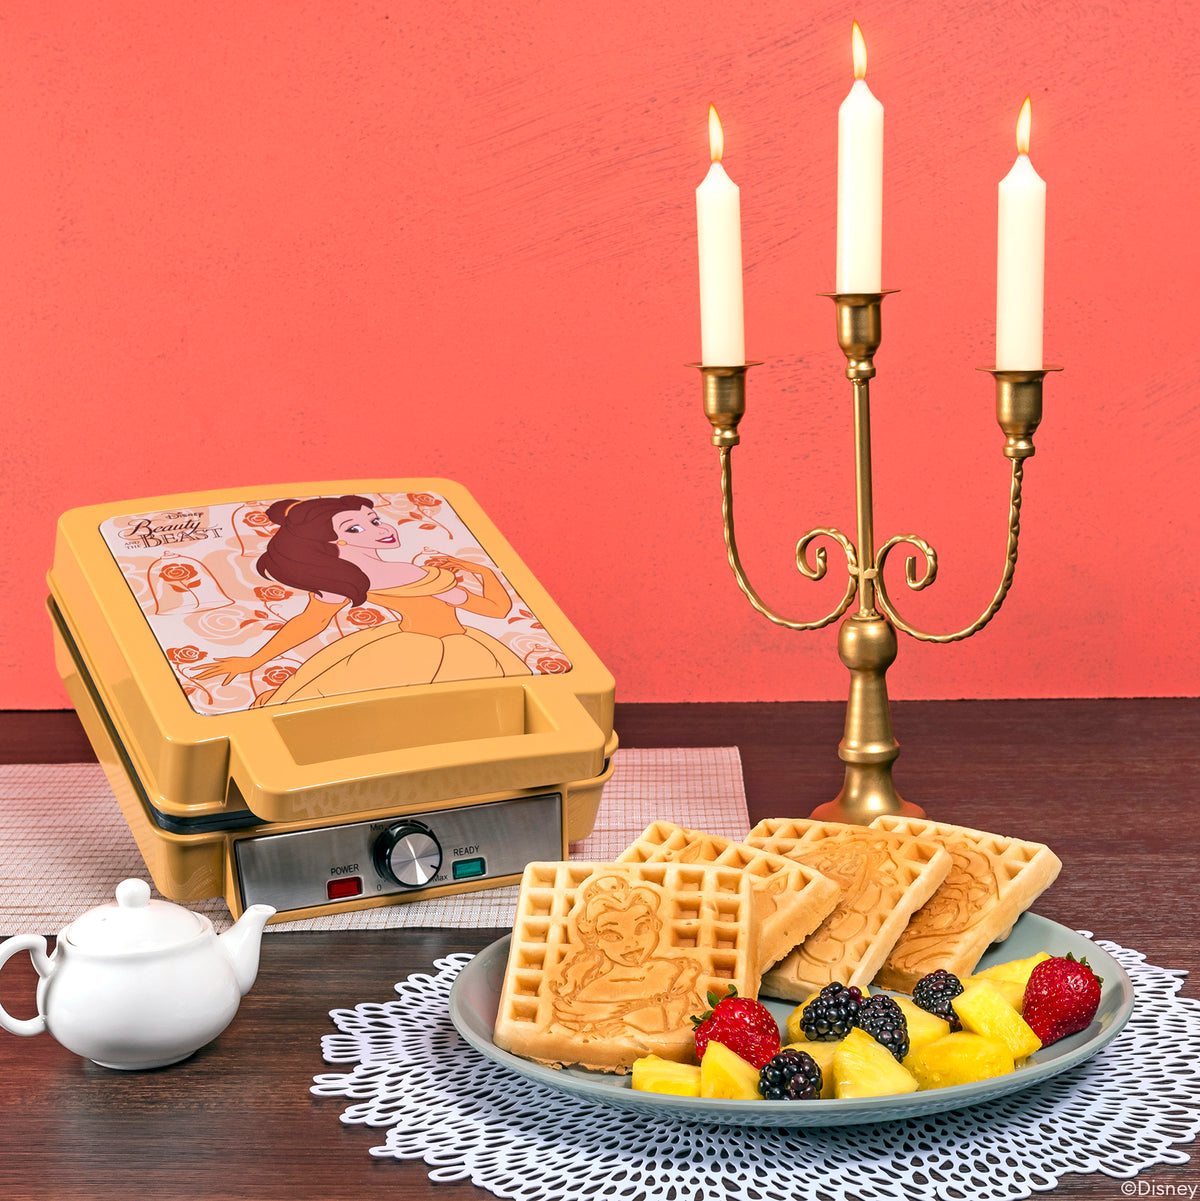
You might be thinking, “It’s just a little water, right? Can’t I just wipe it and put it away?” Not so fast. That lingering moisture is a silent saboteur for your beloved appliance. Taking a few extra moments to dry your waffle maker properly is one of the most important parts of its maintenance routine.
Proper drying directly impacts three key areas:
- Preventing Rust and Corrosion: Even if the plates are non-stick, the housing, hinges, and internal components are often made of metal. Trapped moisture can lead to rust, which can compromise the structural integrity and safety of your machine.
- Protecting the Non-Stick Coating: The non-stick surface on your waffle plates is a modern marvel, but it’s not invincible. Leaving water to sit on the surface can, over time, degrade the coating. More importantly, improper drying methods—like using an abrasive towel—can scratch and ruin it instantly.
- Maintaining Hygiene: A damp, dark environment is a breeding ground for mold and bacteria. Ensuring your waffle maker is bone-dry before storing it means you’re starting fresh and clean every single time you have a craving.
The Best Way to Dry a Waffle Maker: A Step-by-Step Guide
So, how do you get it perfectly dry without spending all day on it? The best method leverages the appliance’s own residual heat. It’s gentle, incredibly effective, and takes almost no extra effort.
Here is the professional, surefire method for drying your waffle maker:
- Unplug and Cool Down (Slightly): First and foremost, always unplug the appliance before cleaning or drying. Safety is paramount. Let it cool down until it’s warm to the touch but not hot enough to burn you. This is the sweet spot.
- Perform the Initial Clean: You can’t dry a dirty machine. Use a soft, damp cloth or a paper towel to wipe away any crumbs and oil residue. For stubborn bits of batter, you can check out [our complete guide to cleaning a waffle maker without ruining it]. Never submerge your waffle maker in water.
- The Residual Heat Trick: This is the core of the technique. After you’ve wiped it clean, simply close the lid and let the waffle maker sit for 10-15 minutes. The gentle residual heat from its recent use will evaporate any remaining tiny water droplets in the grids and crevices. It’s like a mini sauna for your appliance that does all the work for you.
- The Final Inspection and Polish: Open the waffle maker back up. It should be completely dry. For good measure, take a clean, dry microfiber cloth and give the plates and exterior one last gentle wipe. This removes any final traces of moisture and buffs the surfaces.
- Store It Properly: Once it’s completely cool and dry, store it with the lid latched. Many people make the mistake of storing it slightly ajar, which can invite dust.
As kitchen appliance expert Chef Isabella Rossi notes, “We put so much effort into finding the perfect batter recipe, but the longevity of your waffle maker comes down to maintenance. Using its own residual heat to dry is the most elegant and effective solution—it works with the machine, not against it.”
Common Drying Mistakes to Avoid at All Costs
Knowing what is the best way to dry a waffle maker also means knowing what not to do. Avoid these common pitfalls that can drastically shorten your appliance’s life.
- Never Use Direct Heat to “Burn it Dry”: It can be tempting to plug the waffle maker back in and turn it on high to speed up drying. Don’t do it! This can overheat and damage the non-stick coating, causing it to flake or lose its effectiveness.
- Avoid Abrasive Towels: A rough dish towel or a scouring pad will create micro-scratches on the non-stick surface. Once that coating is compromised, everything sticks, and your waffle-making joy turns into a scraping nightmare. Stick to soft paper towels or microfiber cloths.
- Don’t Put It Away Wet: This is the cardinal sin of waffle maker care. Even if it looks “mostly dry,” the tiny amount of moisture trapped inside when you close the lid is enough to cause long-term damage and hygiene issues.
- Skipping the Crevices: The deep grids of a Belgian waffle maker are notorious for trapping water. Be extra diligent in ensuring these areas are dry. The residual heat method is especially effective for this.
How Does Drying Differ for Various Waffle Maker Types?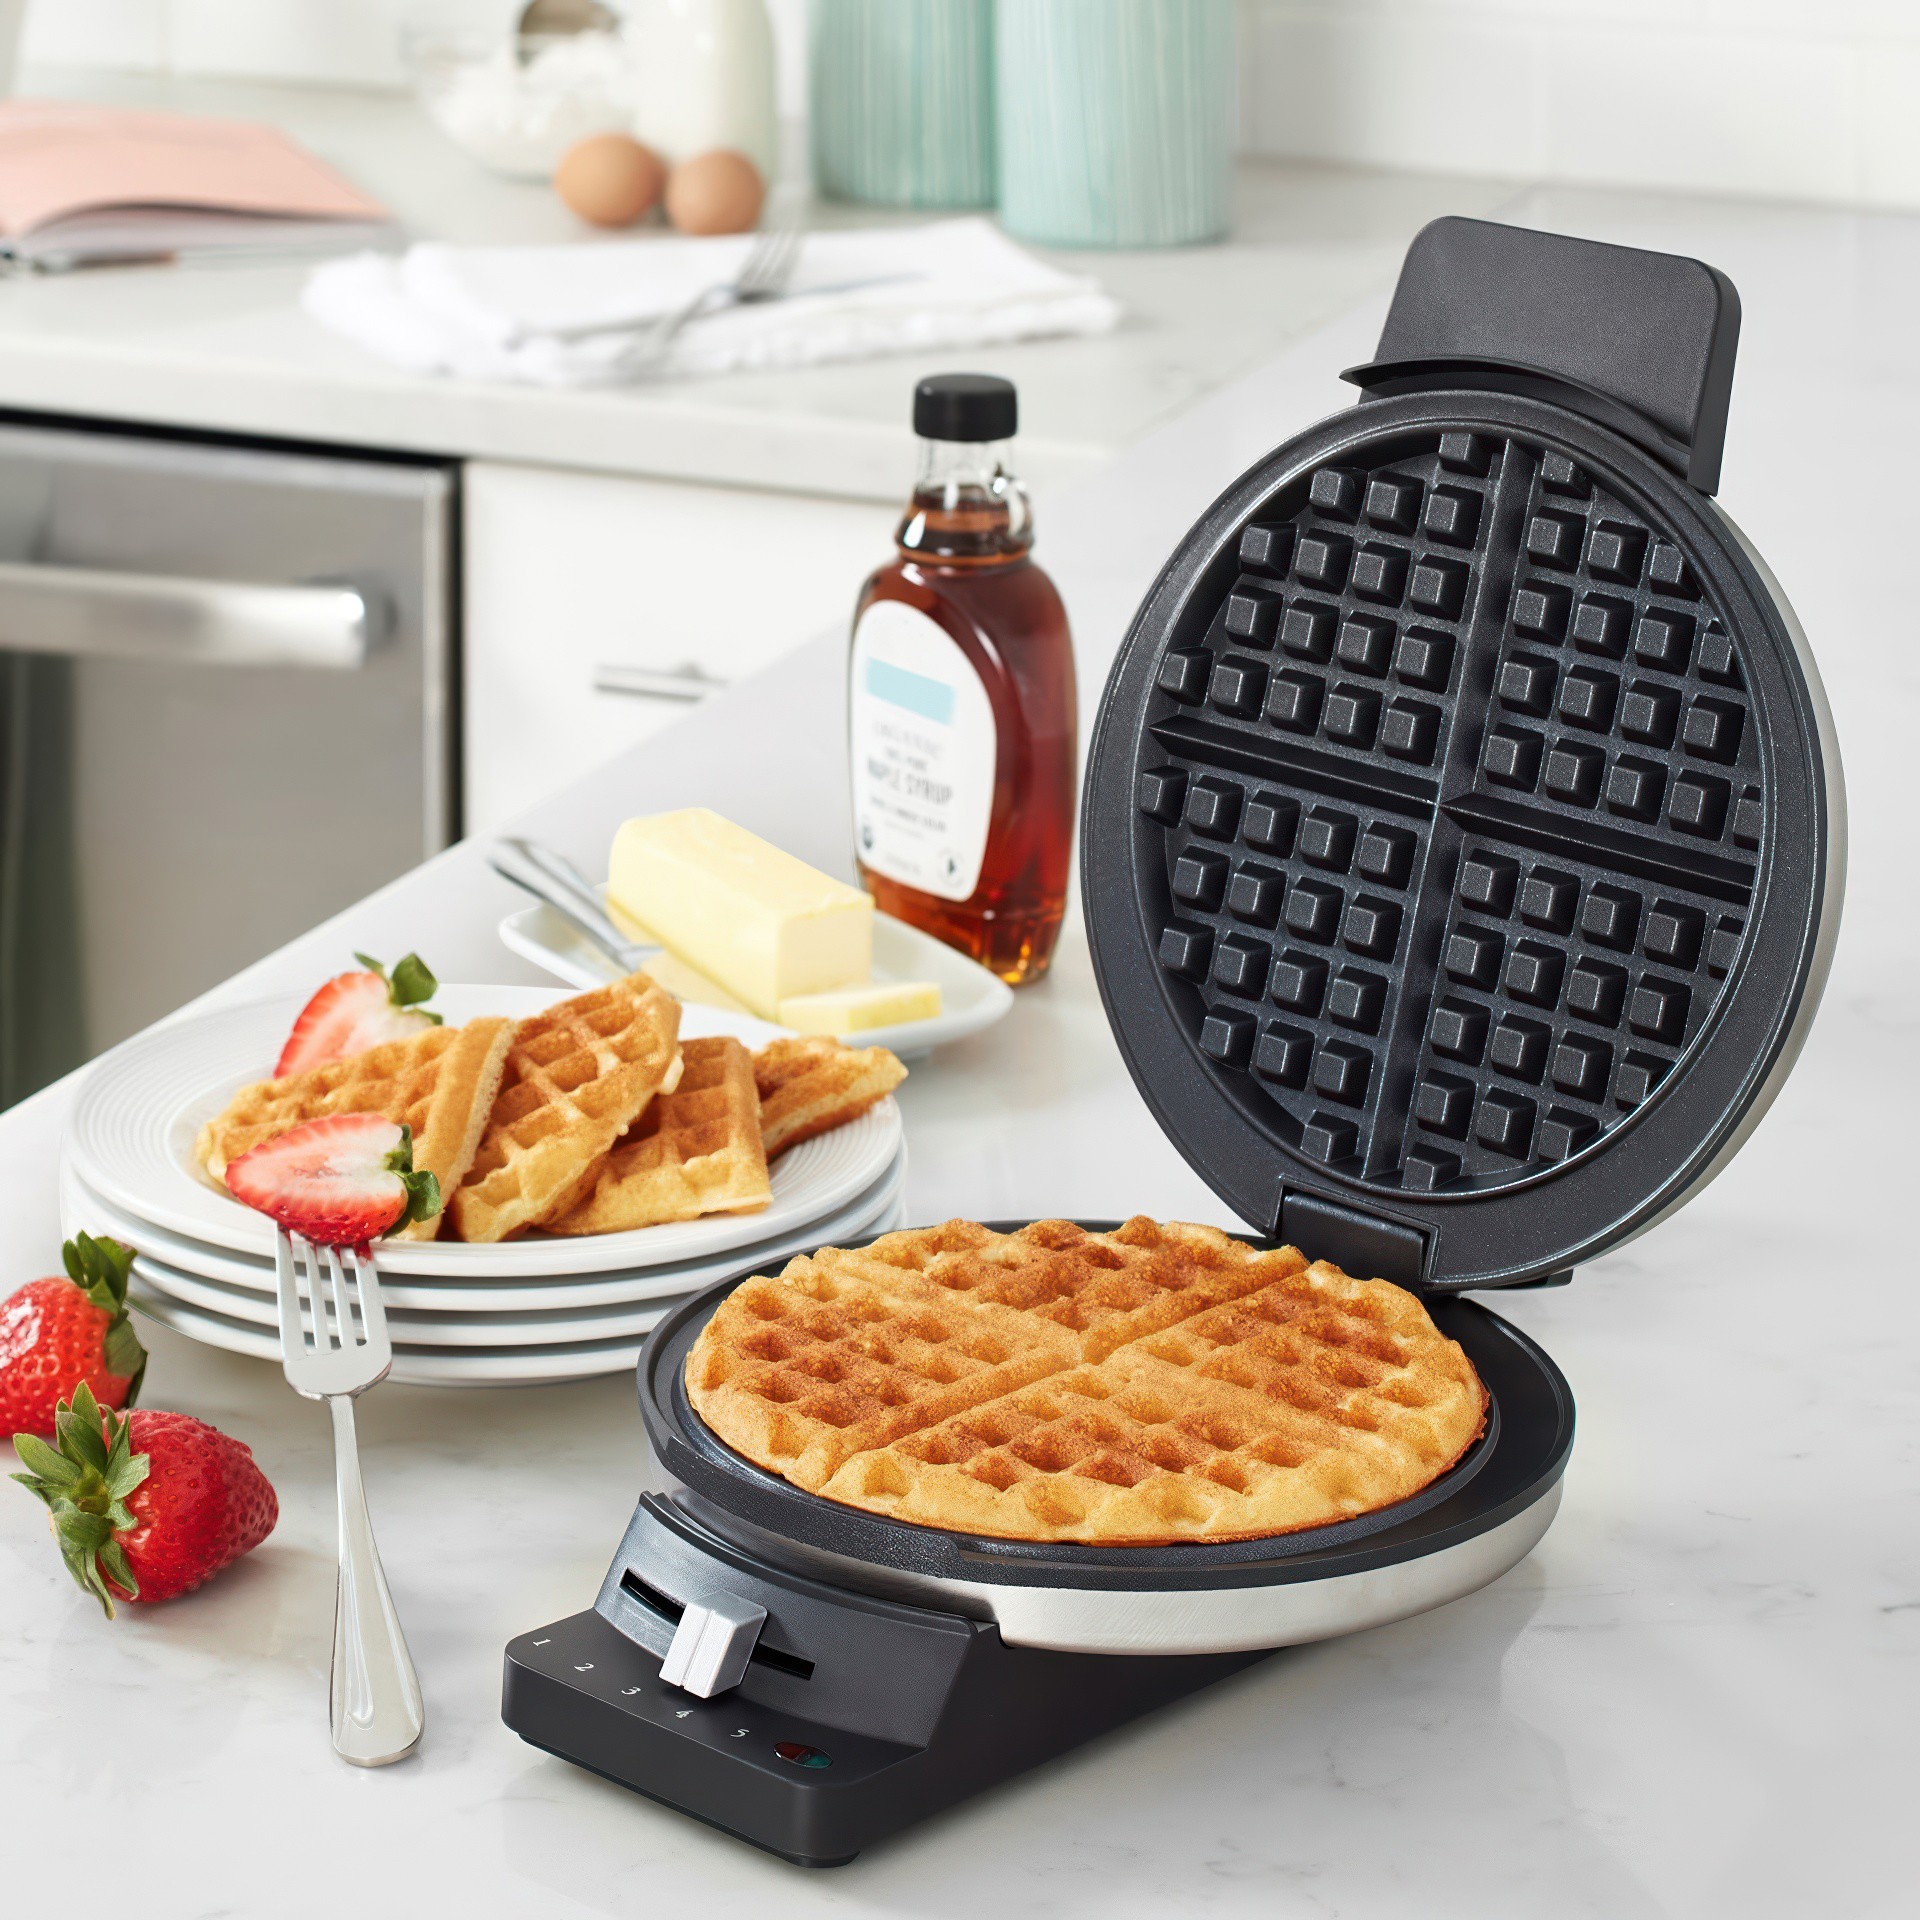
While the residual heat method is universally effective, some types of waffle makers require slightly different considerations.
Waffle Makers with Removable Plates
If you own a model with removable non-stick plates, you’ve hit the cleaning and drying jackpot. You can wash these plates by hand in the sink with warm, soapy water and a soft sponge. However, the drying principle remains the same. After washing:
- Pat them thoroughly dry with a soft towel.
- Let them air dry completely on a dish rack before reinserting them into the waffle maker body.
- Do not put them back into the main unit while still damp.
Cast Iron Waffle Makers
The classic cast iron waffle iron is a different beast entirely. It doesn’t have a non-stick coating; instead, it relies on a layer of “seasoning” (baked-on oil). Water is the enemy of this seasoning.
After cleaning a cast iron waffle iron (which should involve minimal water and no soap), it’s crucial to dry it immediately and thoroughly on the stovetop over low heat. Once dry, you should wipe a very thin layer of cooking oil over the surface to maintain the seasoning.
Ceramic vs. Teflon Non-Stick Plates
Both ceramic and traditional Teflon coatings benefit from the gentle residual heat drying method. Ceramic is known for being more durable at high temperatures, but it can still be scratched. Teflon is highly effective but can be more sensitive to overheating and harsh cleaning. For both types, avoiding high heat for drying and using soft cloths is non-negotiable.
Frequently Asked Questions (FAQ)
Q: What happens if I don’t dry my waffle maker properly?
A: If you don’t dry your waffle maker, you risk causing rust on metal parts, degrading the non-stick coating, and creating a breeding ground for bacteria or mold. This significantly shortens the appliance’s lifespan and can affect the taste and safety of your food.
Q: Can I use a hair dryer to dry my waffle maker?
A: While it might seem like a clever hack, it’s not recommended. The concentrated, high heat from a hair dryer can be too intense for the non-stick surface and could potentially damage it. The gentle, even residual heat from the machine itself is a much safer option.
Q: Is it safe to leave my waffle maker plugged in while it dries?
A: No, absolutely not. You should always unplug the appliance as the very first step before cleaning or drying. The residual heat method works after the machine has been turned off and unplugged.
Q: How long should I let my waffle maker air dry?
A: If you opt to air dry instead of using the residual heat method, leave the lid open and let it sit for at least an hour to ensure all moisture in the deep grids has evaporated. The residual heat method is much faster, typically taking only 10-15 minutes.
Q: I see a little rust near the hinge. What should I do?
A: A small amount of surface rust on an exterior part can sometimes be gently removed with a paste of baking soda and water on a soft cloth. Be very careful not to let the abrasive paste touch the non-stick plates. This is a clear sign that you need to be more diligent about your drying routine in the future.
Your Waffle Maker’s Happily Ever After
Your waffle maker is more than just an appliance; it’s a vessel for creating delicious memories. Treating it with care is the key to a long and happy relationship. By now, you know that what is the best way to dry a waffle maker isn’t complicated—it’s about being gentle and smart. Using the machine’s own residual heat is the most efficient, safest, and easiest method to ensure it’s perfectly dry every time.
So the next time you’re basking in that post-waffle glow, take those extra few minutes for a proper dry. Your future self, and your perfectly crisp, non-stuck waffles, will thank you. Now, why not explore our reviews of the [best Belgian waffle makers of the year] to see which models make cleanup a total breeze?