Ever stood in front of your waffle maker, batter in hand, staring at that little blinking light and wondering what on earth it’s trying to tell you? You’re not alone. Understanding What Is A Ready To Eat Light is the first step from being a waffle novice to a breakfast champion. It’s the silent conductor of your waffle-making orchestra, and here at Waffle Maker Guide, we’re going to demystify it for you. Think of us as your trusted partner on this delicious journey to golden, crispy perfection.
That little indicator light is more than just a simple on/off switch; it’s your waffle maker’s way of communicating. When you first plug it in, the light will typically come on to signal that the appliance is heating up. When it turns off (or sometimes changes color, from red to green), it’s saying, “I’m hot and ready for that batter!” But the real magic happens after you’ve poured the batter and closed the lid. The light will often come on again while the waffle is cooking and then, in a glorious moment, it will turn off or change color once more. That’s the signal you’ve been waiting for: your waffle is cooked to perfection. This is, in essence, what is a ready to eat light is all about—it’s your go-signal for breakfast bliss.
Why That Little Light Is Your Best Friend in the Kitchen
Let’s be honest, nobody likes a soggy, undercooked waffle or, even worse, a burnt, charcoal-like disk. The ready to eat light is your secret weapon against both of these breakfast tragedies. It takes the guesswork completely out of the equation.
“The key to a perfect waffle isn’t just in the batter; it’s in the consistent, even heat distribution that a quality machine provides. The indicator light is the user’s direct line to that process, ensuring you cook at the optimal temperature every single time.” – Chef Isabella Rossi, Culinary Appliance Expert.
Without it, you’re just flying blind, opening the lid every 30 seconds to check, letting all that precious heat escape and ruining the cooking process. The light ensures:
- Perfect Timing: It’s calibrated to the machine’s heating element, telling you the precise moment your waffle has finished cooking.
- Consistency: Every waffle you make will be cooked for the same optimal duration, leading to beautifully consistent results.
- Ease of Use: It makes the whole process foolproof. No need for timers or constant peeking. Just wait for the signal.
How Do You Know When a Waffle is Done?
The most straightforward answer is to trust your waffle maker’s ready to eat light. When the light indicates it’s done—usually by turning off or switching from red to green—your waffle should be perfectly cooked. You can also look for a halt in the steam coming from the sides of the appliance; less steam typically means the moisture has cooked off and the waffle is crisp.
Beyond the Light: Key Waffle Maker Features Explained
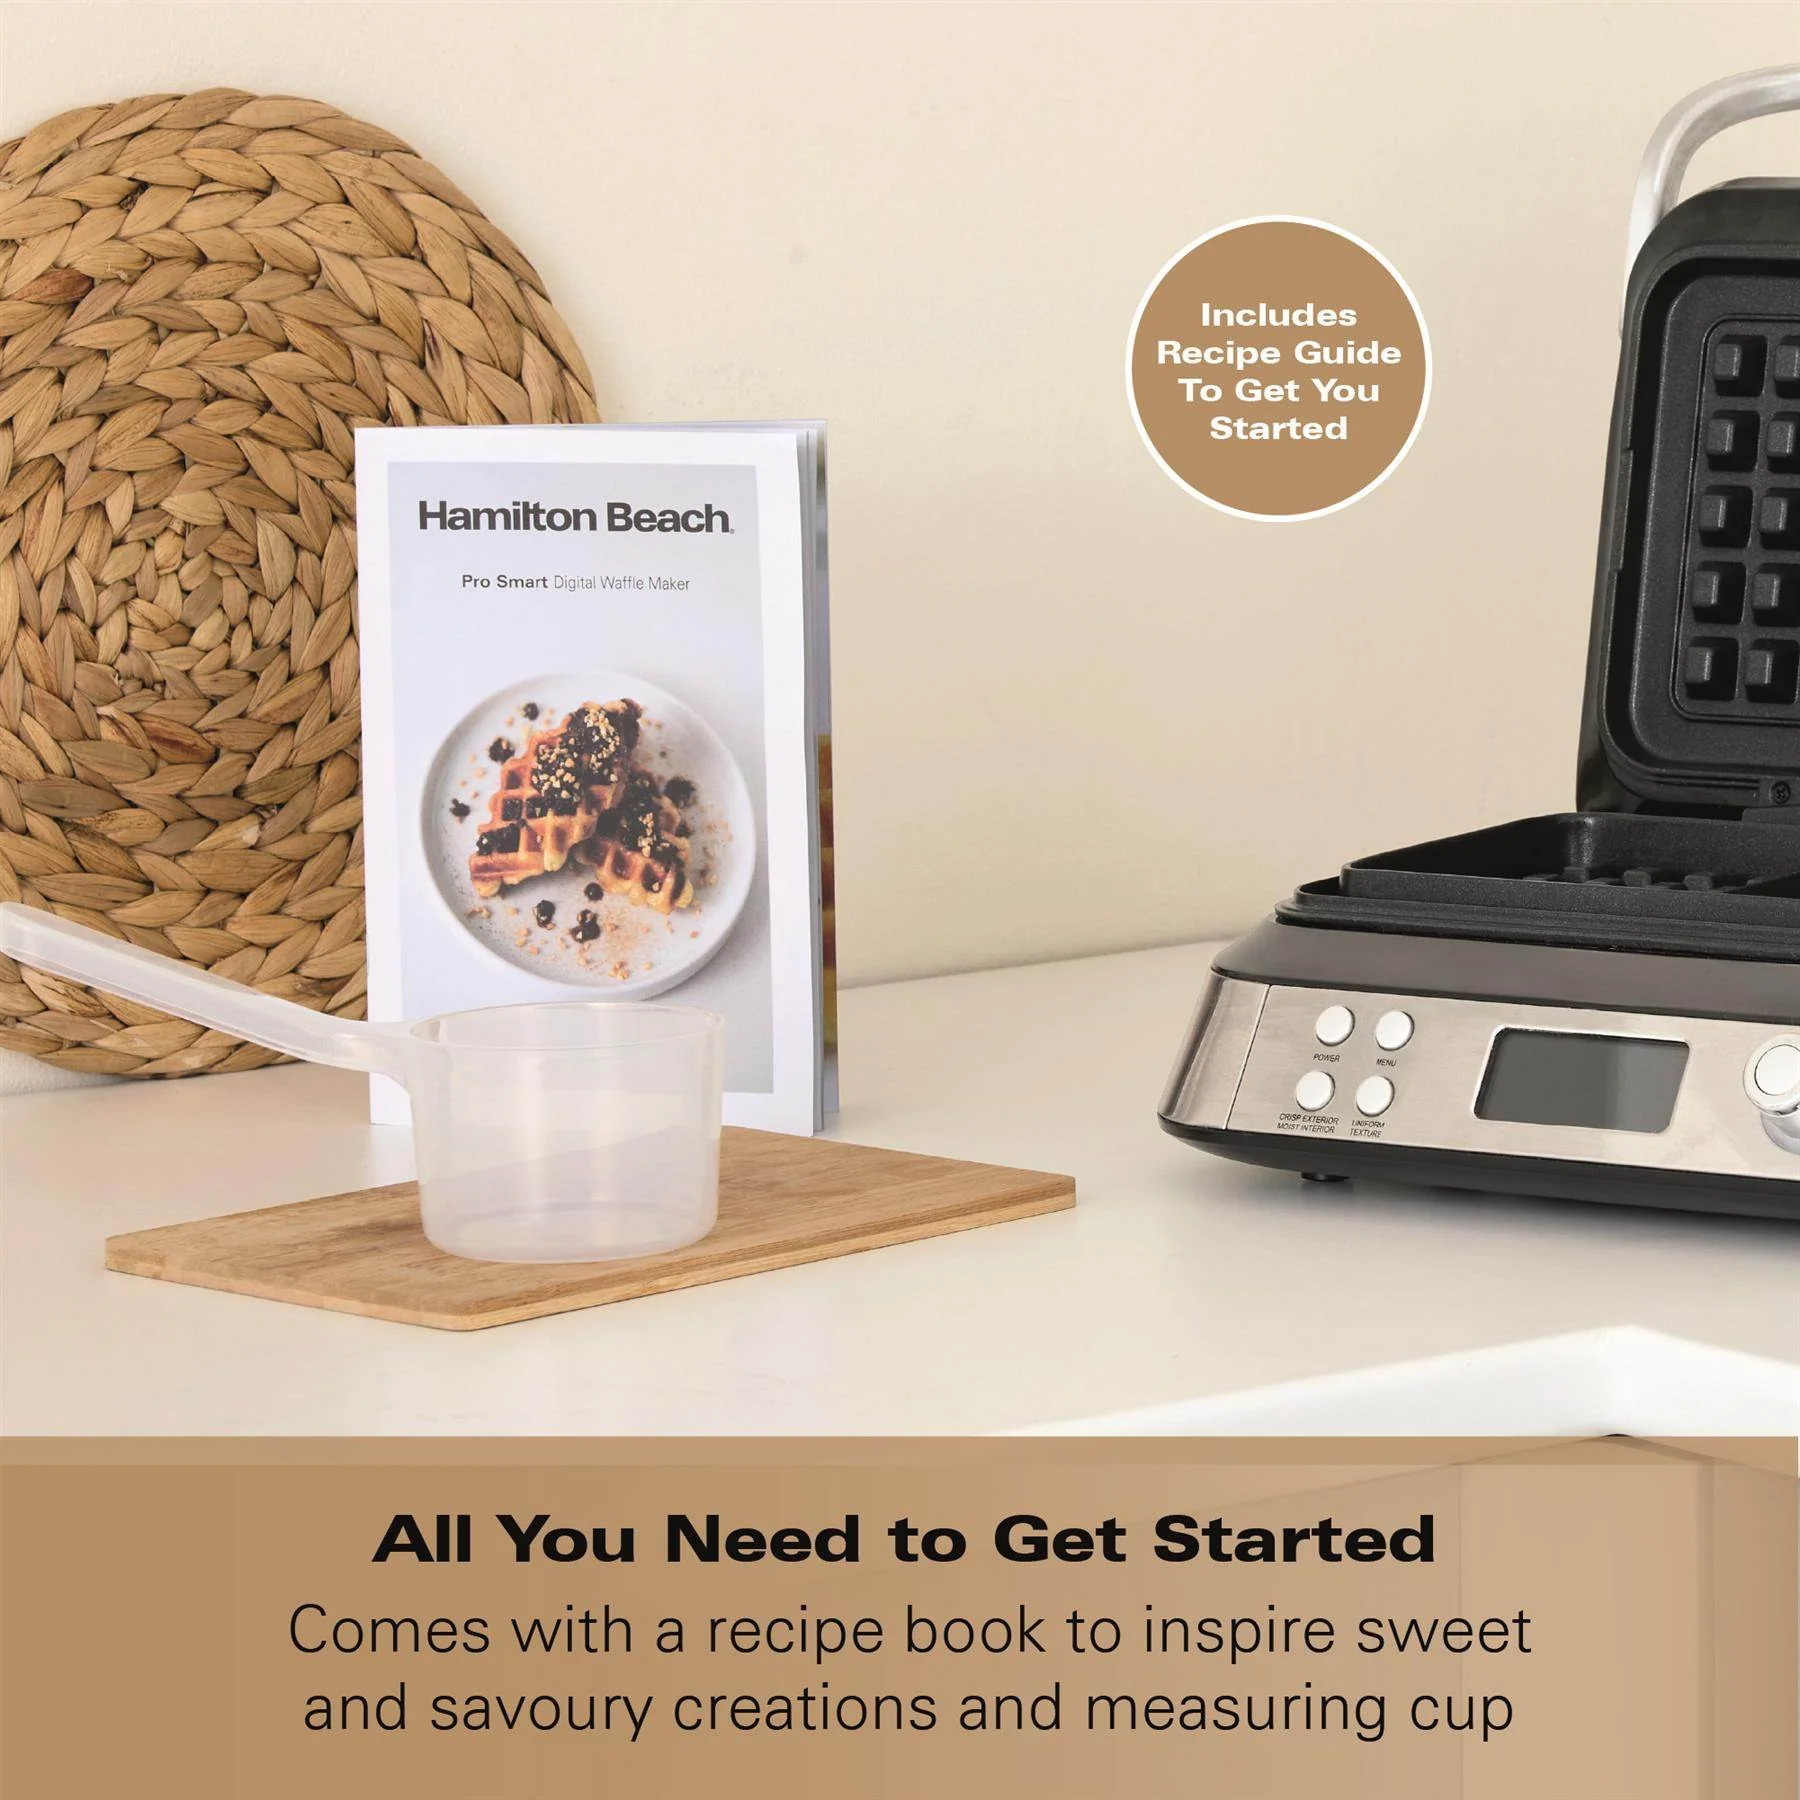
While understanding what is a ready to eat light is crucial, it’s just one feature of a great waffle maker. If you’re in the market for a new one or just want to understand yours better, here are the features that truly matter.
|
Our Picks for the Best Waffle Maker in 2025
As an Amazon Associate, we earn from qualifying purchases.
|
||
| Num | Product | Action |
|---|---|---|
| 1 | Car Mini Waffle Maker- Xmas Gift for Him- Make 7 Different Race Cars Trucks & Automobile Vehicle Shaped Pancakes for Kids Adults- Electric Waffler Iron w Recipe Guide, NonStick Pan Cake Baker Machine |

|
| 2 | CROWNFUL Mini Waffle Maker, 4\" Chaffle Maker with Compact Design, Easy to Clean, Non-Stick Surface, Recipe Guide Included, Perfect for Breakfast, Dessert, Sandwich, or Other Snacks |
|
| 3 | Chefman Rotating Belgian Waffle Maker, 180° Flip Iron w/ Non-Stick Plates, Adjustable Timer, Locking Lid, & Drip Plate, Space Saving Storage, Mess-Free Breakfast, Stainless Steel/Black |
|
| 4 | DASH Mini Waffle Maker - 4” Waffle Mold, Nonstick Waffle Iron with Quick Heat-Up, Nonstick Surface - Perfect Mini Waffle Maker for Kids and Families, Just Add Batter (Red) |
|
| 5 | BELLA 17175 Bubble Maker w, Rapid Quickly Make Fluffy 9” Authentic Hong Kong Breakfast or Dessert, Healthy-Eco Non Stick Coating, Easy to Clean Waffle Iron, 120 Volts, Cone Rack Included, White |
|
| 6 | Bubble Waffle Maker- Electric Non stick Hong Kong Egg Waffler Iron Griddle w/Ready Indicator Light- Ready in under 5 Mins- Recipe Guide Included, Make Delicious Ice Cream Cones for Xmas Gift or Treat |
|
| 7 | Ninja BW1001 NeverStick PRO Belgian Waffle Maker, Vertical Design, 5 Shade Settings, with Precision-Pour Cup & Chef-curated Recipe Guide, Black & Silver |
|
| 8 | MasterChef Bubble Waffle Maker- Electric Non stick Hong Kong Egg Waffler Iron Griddle w FREE Recipe Guide- Ready in under 5 Minutes |
|
| 9 | CROWNFUL Mini Waffle Maker, 4\" Chaffle Maker with Compact Design, Easy to Clean, Non-Stick Surface, Recipe Guide Included, Perfect for Breakfast, Dessert, Sandwich, or Other Snacks |
|
| 10 | DASH Multimaker Mini System - Waffle Maker with Six 4” Removable Plates: Waffle Iron & Griddle, 4-in-1 Mini Waffle Maker for Kids and Families – Nonstick Surface, Just Add Batter (Aqua) |
|
Browning Control Settings
This is the feature that separates the good from the great. A browning control dial or slider lets you customize the crispiness and color of your waffle. Do you prefer a light, fluffy waffle or a deep golden-brown, extra-crispy one? This feature puts you in the driver’s seat. Think of it like the toaster dial for your waffles.
Non-Stick Plates
This is a non-negotiable feature. Good non-stick plates, whether they’re a traditional coating or a ceramic one, are essential for easily releasing your waffles without them tearing apart. It also makes cleanup a million times easier. There’s nothing worse than spending 10 minutes scrubbing hardened batter out of every crevice.
- Removable Plates: The holy grail of easy cleaning. Waffle makers with removable, dishwasher-safe plates are an absolute dream. You just pop them out and let the machine do the hard work.
- Fixed Plates: More common in budget models. They require a bit more care to clean (never submerge the appliance!), but a good non-stick surface still makes it manageable.
Audible Alerts
Some modern waffle makers don’t just have a ready to eat light; they also have an audible beep. This is incredibly handy if you’re multitasking in the kitchen. You don’t have to keep your eyes glued to the machine; it will literally call out to you when breakfast is served.
The Drip Tray
My perfect weekend morning does not involve mopping up sticky waffle batter from my countertops. An overflow channel or a drip tray is a lifesaver. It catches any excess batter that might ooze out, keeping your kitchen clean and saving you from a frustrating cleanup job.
How to Use and Clean Your Waffle Maker
Using your machine correctly is just as important as buying the right one. Here’s a simple step-by-step guide to waffle-making success.
- Season the Plates (First Use Only): Before your very first use, lightly brush the non-stick plates with a neutral oil like canola or coconut oil and preheat it. This helps season the surface and enhances its non-stick properties for the long run.
- Preheat Completely: Plug in your waffle maker and wait for that ready light to tell you it’s reached the perfect temperature. Never pour batter onto a cold iron.
- Pour the Batter: Pour your batter into the center of the lower grid. Use just enough to cover the surface; it will expand as it cooks.
- Close and Cook: Close the lid and let the machine work its magic. Don’t be tempted to open it and peek!
- Wait for the Signal: Keep an eye on the ready to eat light or an ear out for the beep.
- Remove with Care: Once done, use a non-metal utensil, like a silicone or wooden spatula, to remove your waffle. Metal can scratch and ruin the non-stick coating.
The Art of Cleaning
Cleaning is simple if you do it right.
- Unplug and Cool Down: Always unplug the machine and let it cool completely before you even think about cleaning it.
- Brush Away Crumbs: Use a soft-bristled brush or a dry paper towel to wipe away any loose crumbs.
- Tackle Stuck-On Bits: For any stubborn, cooked-on batter, place a damp paper towel on the spot and close the lid for a few minutes. The steam will soften it, making it easy to wipe away.
- Wipe the Exterior: Use a damp cloth to wipe down the outside of the machine.
Tips for Perfect Waffles Every Single Time
- Don’t Overmix Your Batter: A few lumps are okay! Overmixing develops the gluten and can lead to tough, chewy waffles instead of light, crispy ones.
- Rest Your Batter: If you have time, let your batter rest in the fridge for 15-30 minutes. This allows the flour to fully hydrate and results in a more tender waffle.
- Don’t Use Cooking Spray: Aerosol cooking sprays can build up on non-stick surfaces over time, creating a sticky residue that’s hard to remove and can cause waffles to stick. A light brush of melted butter or oil is much better.
- One Waffle at a Time: For the crispiest results, serve them fresh. If you need to make a large batch, you can keep finished waffles warm and crisp in a single layer on a wire rack in a 200°F (95°C) oven.
Frequently Asked Questions (FAQ)
Q: Can you use pancake mix in a waffle maker?
A: Yes, you can, but it won’t be quite the same. Waffle batter typically has more fat (oil or butter) and sugar, which helps it caramelize and get crispy. To improve your pancake mix for waffles, try adding an extra tablespoon of oil and a tablespoon of sugar per cup of mix.
Q: My waffle maker doesn’t have a ready to eat light. How do I know when my waffle is done?
A: A great indicator is steam. When you first pour the batter, a lot of steam will escape from the sides. As the waffle cooks, the amount of steam will dramatically decrease. When it has mostly stopped, your waffle is likely ready. Most standard waffles take about 3-5 minutes.
Q: Why are my waffles sticking to the non-stick plates?
A: This usually happens for a few reasons. The iron might not have been preheated properly, there might not be enough fat in your batter, or the non-stick coating may have been damaged by metal utensils or is wearing out. Ensure you preheat fully and use a silicone spatula.
Q: What is the difference between a Belgian waffle maker and a classic one?
A: The main difference is the waffle itself! Belgian waffle makers have deeper grids, creating thicker waffles with large pockets perfect for holding syrup and toppings. Classic, or American-style, waffle makers produce thinner, crisper waffles with smaller indentations.
Q: Is a flip waffle maker better than a standard one?
A: Many waffle enthusiasts swear by flip models. The flipping action helps to evenly distribute the batter, theoretically leading to a more evenly cooked and browned waffle on both sides. While not essential, it’s a feature many people love for its consistent results.
So, that little light on your appliance is far more than just a power indicator. It’s your guide, your timer, and your ticket to a perfect breakfast. By understanding what is a ready to eat light truly means and pairing that knowledge with the right features and techniques, you can elevate your waffle game from mediocre to magnificent. Now go forth and conquer the kitchen! And when you do, check out our in-depth reviews to find the perfect machine to join you on your culinary adventures.