Let’s be honest, there’s a certain magic that happens when you decide to make breakfast an event rather than just a meal. For me, that magic often starts with the heavenly aroma of vanilla and melting butter. If you’re searching for How To Make Buttermilk Waffles, you’re not just looking for a recipe; you’re chasing a feeling—the feeling of a perfect, lazy weekend morning, a special brunch with loved ones, and the simple joy of creating something truly delicious from scratch. And I’m here to tell you that achieving that perfect, golden-brown, crispy-on-the-outside, fluffy-on-the-inside waffle is absolutely within your reach. It’s a combination of a killer recipe and, you guessed it, the right tool for the job.
Why Buttermilk is the Waffle’s Best Friend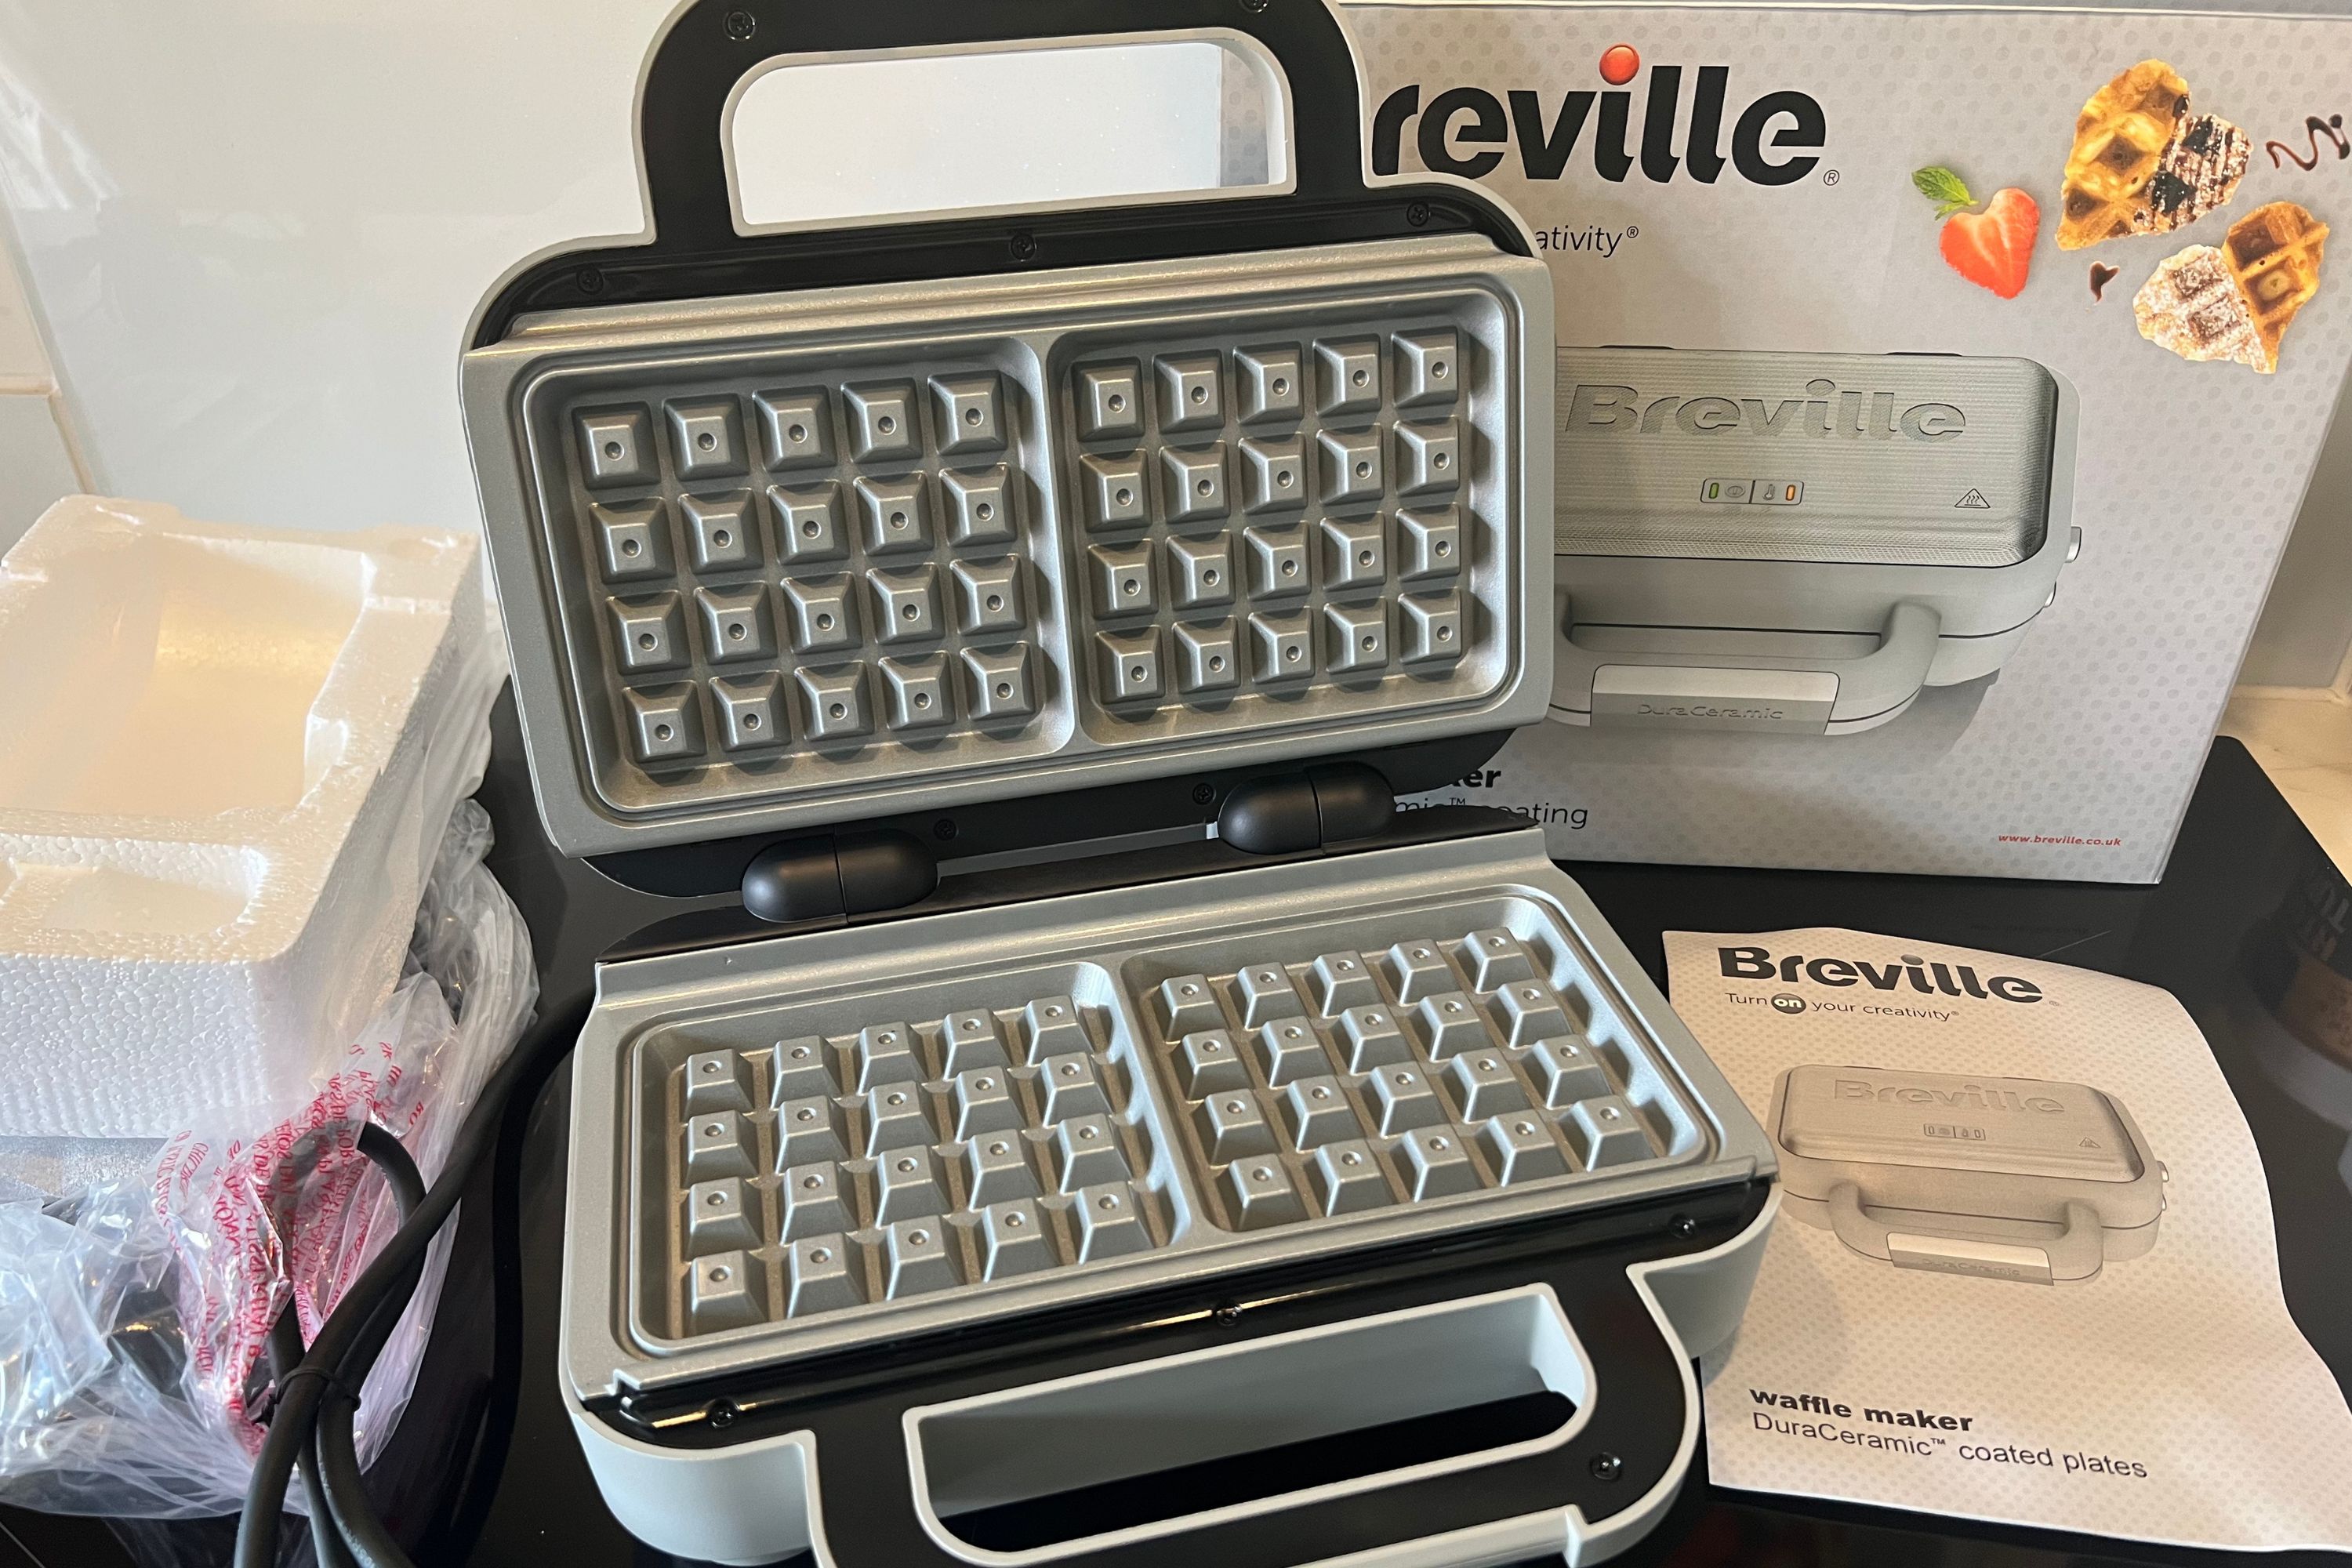
Ever wonder what gives buttermilk waffles that signature tang and unbelievably tender texture? It’s all about science, my friend. The acidity in buttermilk does two amazing things. First, it reacts with the baking soda, creating extra lift and making your waffles incredibly light and airy. Second, it helps to break down the gluten in the flour, resulting in a more tender crumb that melts in your mouth. Using regular milk just won’t give you that same sublime result.
According to Chef Isabella Rossi, a renowned pastry expert, “The secret to a five-star waffle isn’t some exotic ingredient; it’s the beautiful chemistry between acidic buttermilk and a leavening agent. It creates a texture that’s impossible to replicate and is the foundation of any truly great waffle.”
Your Waffle-Making Weapon of Choice
A great batter is only half the battle. The other half is the machine that transforms that liquid gold into a crispy, grid-patterned masterpiece. Your waffle maker is the single most important piece of equipment in your quest for waffle perfection.
Belgian vs. Classic American: The Great Divide
The first choice you’ll face is the style of waffle you want to create.
- Belgian Waffles: These are the thick, fluffy behemoths you know and love. A Belgian waffle maker is designed with deep pockets—perfect for holding generous pools of maple syrup, melted butter, or a scoop of ice cream. They’re typically lighter and crispier due to their depth.
- Classic American Waffles: These are thinner, denser, and have smaller, shallower pockets. They’re what you might remember from a classic diner. They’re fantastic for a simple breakfast and crisp up beautifully.
There’s no right or wrong answer; it’s purely a matter of personal preference. Do you want a light, airy waffle that’s a vessel for toppings, or a thinner, crisper, more traditional breakfast staple?
Key Features for the Perfect Waffle Maker
When you’re browsing for a waffle maker, it’s easy to get overwhelmed. Let’s cut through the noise. Here are the features that actually matter for making phenomenal buttermilk waffles.
- Adjustable Browning Control: This is non-negotiable. The ability to dial in your preferred level of doneness, from lightly golden to a deep, crispy brown, gives you ultimate control.
- A Superior Non-Stick Surface: Look for high-quality PFOA-free non-stick coatings or ceramic plates. A good non-stick surface ensures your waffles release effortlessly every single time, leaving no batter behind.
- Indicator Lights or Audio Cues: A simple light or beep that tells you when the iron is preheated and when the waffle is done cooking takes all the guesswork out of the process.
- Deep Drip Tray or Overflow Channel: Batter spillage is inevitable. A well-designed “moat” or a removable drip tray will catch any excess, making cleanup a breeze.
- Removable, Dishwasher-Safe Plates: This is the holy grail of convenience. Being able to pop the cooking plates into the dishwasher transforms cleanup from a chore into an afterthought.
|
Our Picks for the Best Waffle Maker in 2025
As an Amazon Associate, we earn from qualifying purchases.
|
||
| Num | Product | Action |
|---|---|---|
| 1 | BELLA 17175 Bubble Maker w, Rapid Quickly Make Fluffy 9” Authentic Hong Kong Breakfast or Dessert, Healthy-Eco Non Stick Coating, Easy to Clean Waffle Iron, 120 Volts, Cone Rack Included, White |

|
| 2 | Car Mini Waffle Maker- Xmas Gift for Him- Make 7 Different Race Cars Trucks & Automobile Vehicle Shaped Pancakes for Kids Adults- Electric Waffler Iron w Recipe Guide, NonStick Pan Cake Baker Machine |
|
| 3 | Bubble Waffle Maker- Electric Non stick Hong Kong Egg Waffler Iron Griddle w/Ready Indicator Light- Ready in under 5 Mins- Recipe Guide Included, Make Delicious Ice Cream Cones for Xmas Gift or Treat |
|
| 4 | MasterChef Bubble Waffle Maker- Electric Non stick Hong Kong Egg Waffler Iron Griddle w FREE Recipe Guide- Ready in under 5 Minutes |
|
| 5 | CROWNFUL Mini Waffle Maker, 4\" Chaffle Maker with Compact Design, Easy to Clean, Non-Stick Surface, Recipe Guide Included, Perfect for Breakfast, Dessert, Sandwich, or Other Snacks |
|
| 6 | Ninja BW1001 NeverStick PRO Belgian Waffle Maker, Vertical Design, 5 Shade Settings, with Precision-Pour Cup & Chef-curated Recipe Guide, Black & Silver |
|
| 7 | Chefman Rotating Belgian Waffle Maker, 180° Flip Iron w/ Non-Stick Plates, Adjustable Timer, Locking Lid, & Drip Plate, Space Saving Storage, Mess-Free Breakfast, Stainless Steel/Black |
|
| 8 | DASH Mini Waffle Maker - 4” Waffle Mold, Nonstick Waffle Iron with Quick Heat-Up, Nonstick Surface - Perfect Mini Waffle Maker for Kids and Families, Just Add Batter (Red) |
|
| 9 | DASH Multimaker Mini System - Waffle Maker with Six 4” Removable Plates: Waffle Iron & Griddle, 4-in-1 Mini Waffle Maker for Kids and Families – Nonstick Surface, Just Add Batter (Aqua) |
|
| 10 | CROWNFUL Mini Waffle Maker, 4\" Chaffle Maker with Compact Design, Easy to Clean, Non-Stick Surface, Recipe Guide Included, Perfect for Breakfast, Dessert, Sandwich, or Other Snacks |
|
The Unbeatable Buttermilk Waffle Recipe
Now for the moment you’ve been waiting for. This is my go-to recipe, perfected over countless weekend breakfasts. It’s the cornerstone of learning how to make buttermilk waffles that will have everyone asking for seconds.
Gather Your Ingredients (Mise en Place)
- 2 cups all-purpose flour
- 2 tablespoons granulated sugar
- 2 teaspoons baking powder
- 1 teaspoon baking soda
- 1/2 teaspoon salt
- 2 cups buttermilk, at room temperature
- 2 large eggs, separated, at room temperature
- 1/2 cup (1 stick) unsalted butter, melted and slightly cooled
- 1 teaspoon pure vanilla extract
Step-by-Step to Waffle Nirvana
- Preheat Your Waffle Maker: Turn on your waffle maker to your desired setting. I usually aim for a medium-high heat for a good balance of crispiness and color.
- Combine Dry Ingredients: In a large bowl, whisk together the flour, sugar, baking powder, baking soda, and salt. This ensures everything is evenly distributed.
- Whip the Egg Whites: In a separate, clean bowl, use a hand mixer or a whisk to beat the egg whites until stiff peaks form. This is the secret to an incredibly light and airy waffle. Set them aside.
- Combine Wet Ingredients: In another bowl, whisk together the buttermilk, egg yolks, melted butter, and vanilla extract.
- Mix Wet and Dry: Pour the wet ingredients into the bowl with the dry ingredients. Mix with a spatula or whisk until just combined. Do not overmix! A few lumps are perfectly fine and are actually a good thing. Overmixing develops gluten and makes for tough waffles.
- Fold in the Egg Whites: Gently fold the whipped egg whites into the batter in two or three additions. Use a light hand to maintain all that air you just whipped into them. The batter should be light and billowy.
- Cook the Waffles: Lightly grease your preheated waffle iron if necessary (many modern non-stick plates don’t require it). Pour the recommended amount of batter onto the center of the iron and close the lid.
- Be Patient: Let the waffle maker do its job. Don’t peek! Most machines will have an indicator light or a beep to tell you when it’s ready.
- Serve Immediately: Carefully remove the waffle and serve hot with your favorite toppings. For the ultimate crispy texture, place cooked waffles on a wire rack in a single layer while you cook the rest.
How to Clean Your Waffle Maker Without Regret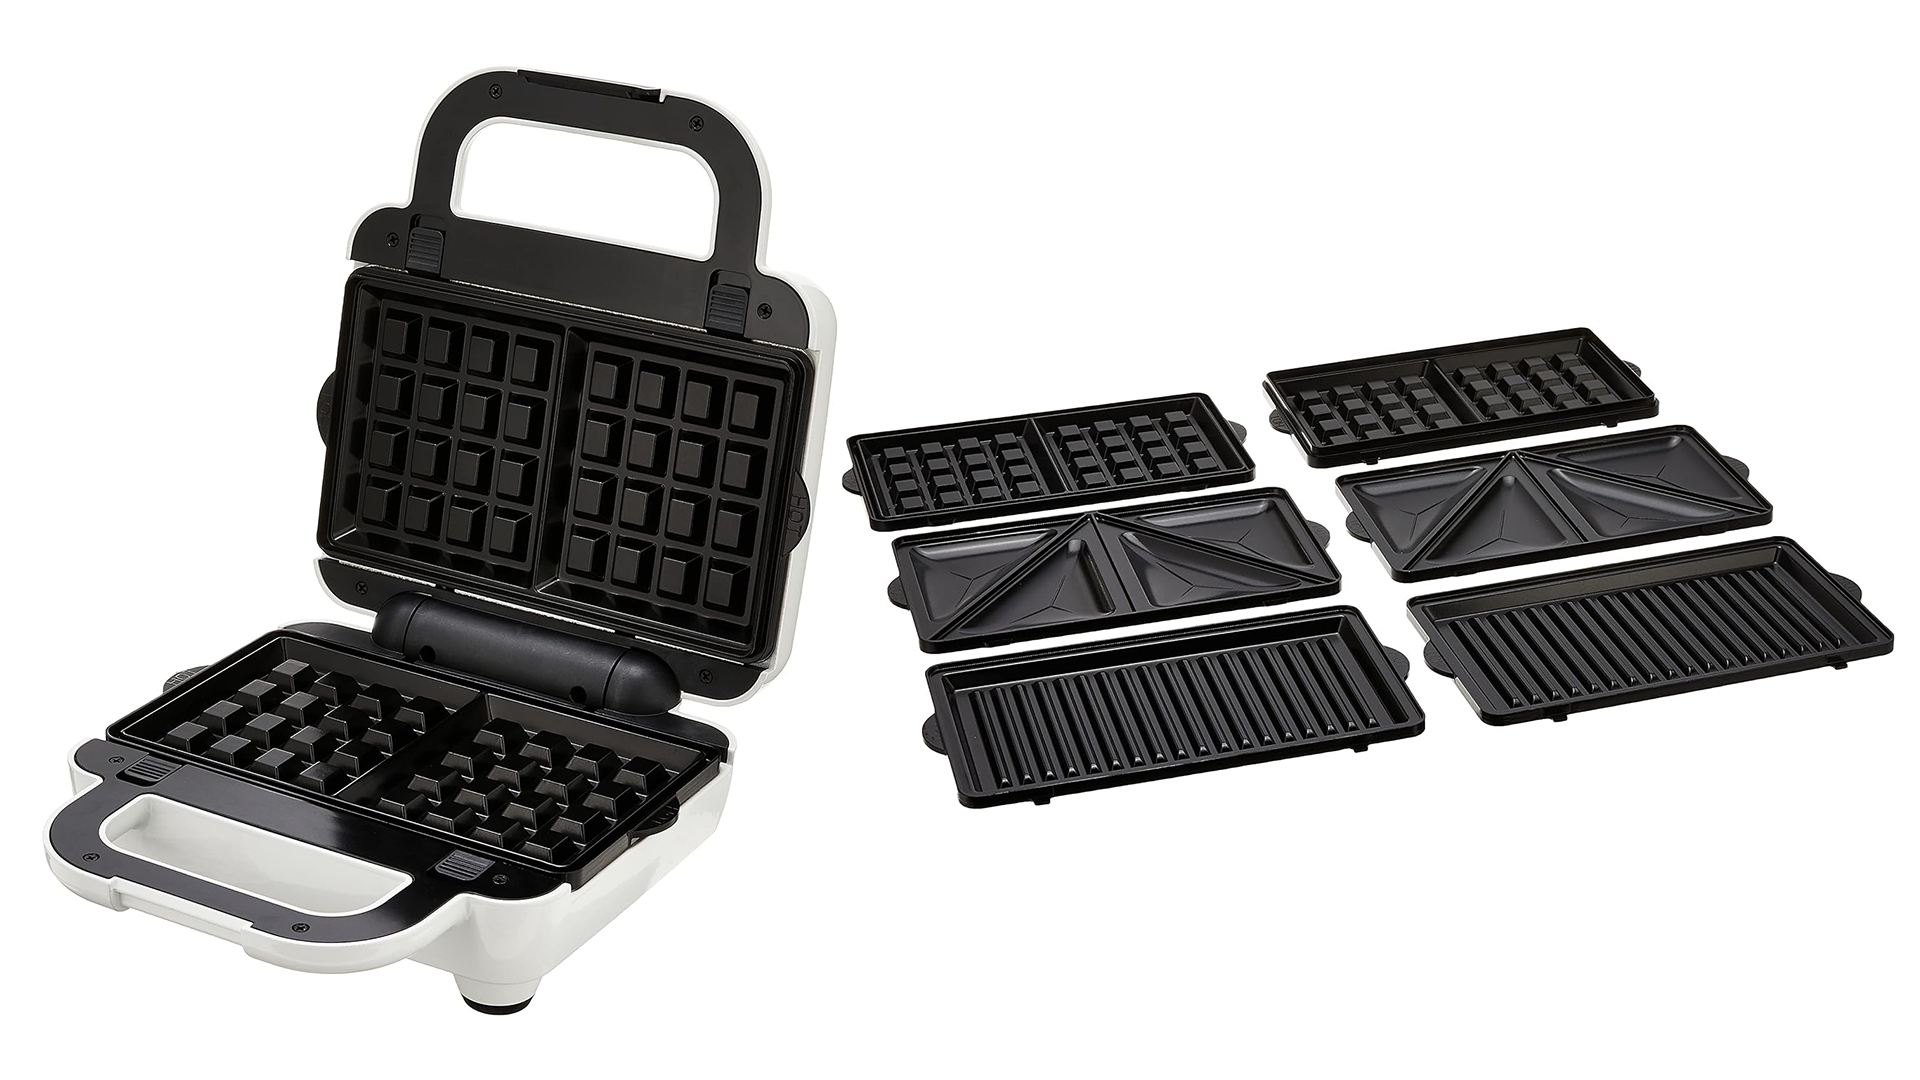
A dirty waffle maker can be intimidating, but it doesn’t have to be a nightmare. Proper cleaning ensures your machine lasts longer and your waffles always taste fresh.
Cleaning your waffle maker involves letting it cool completely, then using a soft-bristled brush or a damp cloth to wipe away crumbs and oil residue. For stubborn bits, a paste of baking soda and water can work wonders on the non-stick grids. Never submerge the appliance in water.
- Unplug and Cool Down: This is the most important step. Never attempt to clean a hot waffle maker.
- Brush Away the Crumbs: Use a dry paper towel or a soft-bristled pastry brush to wipe away any loose crumbs from the grids.
- Tackle Oily Residue: Dampen a soft cloth or sponge in warm, soapy water and wipe down the cooking plates. Wring it out well to avoid getting too much water in the machine.
- Conquer Stuck-On Batter: For really stubborn spots, pour a small amount of cooking oil on the spot and let it sit for a few minutes to soften the gunk. Then, wipe it away with a paper towel.
- Clean the Exterior: Wipe the outside of your machine with a damp cloth to keep it looking pristine.
Frequently Asked Questions (FAQ)
Q: Can you use pancake mix to make buttermilk waffles?
A: You can, but it’s not ideal. Waffle batter is typically richer, with more fat (from butter or oil) and sugar, which is what helps it caramelize and get crispy. Pancake mix will produce a softer, more cake-like waffle.
Q: Why are my waffles coming out soggy instead of crispy?
A: Soggy waffles are often the result of two things: too much moisture in the batter or steam getting trapped. Ensure your waffle maker is fully preheated to a high enough temperature, and don’t stack cooked waffles on a plate—this traps steam and makes them soft. Use a wire rack instead.
Q: What is the best way to freeze and reheat leftover waffles?
A: Let the waffles cool completely on a wire rack. Place them in a single layer on a baking sheet and freeze until solid. Then, transfer them to a freezer-safe bag. To reheat, pop them directly from the freezer into a toaster or toaster oven until hot and crispy.
Q: Can I make a substitute for buttermilk if I don’t have any?
A: Absolutely! The easiest substitute is to add one tablespoon of white vinegar or lemon juice to a measuring cup, then fill the rest of the way with regular milk to make one cup. Let it sit for 5-10 minutes until it curdles slightly. It works like a charm.
Q: What’s the best temperature setting for a waffle maker?
A: This depends on your machine’s browning control, but a medium-high setting is generally the sweet spot. It’s hot enough to create a crisp exterior before the inside overcooks. Experiment with your machine to find your perfect setting.
There you have it—everything you need to know. Learning how to make buttermilk waffles is a journey, not a destination. It’s about finding the perfect balance of ingredients, mastering your technique, and using a quality waffle maker to bring it all together. So go ahead, whip up a batch of this batter, and transform your next breakfast into an unforgettable experience. Your taste buds will thank you.